 It’s time to have FUN designing your own WOW merch on Zazzle! You don’t need an account, you just need to follow the links to our store, and then get busy.
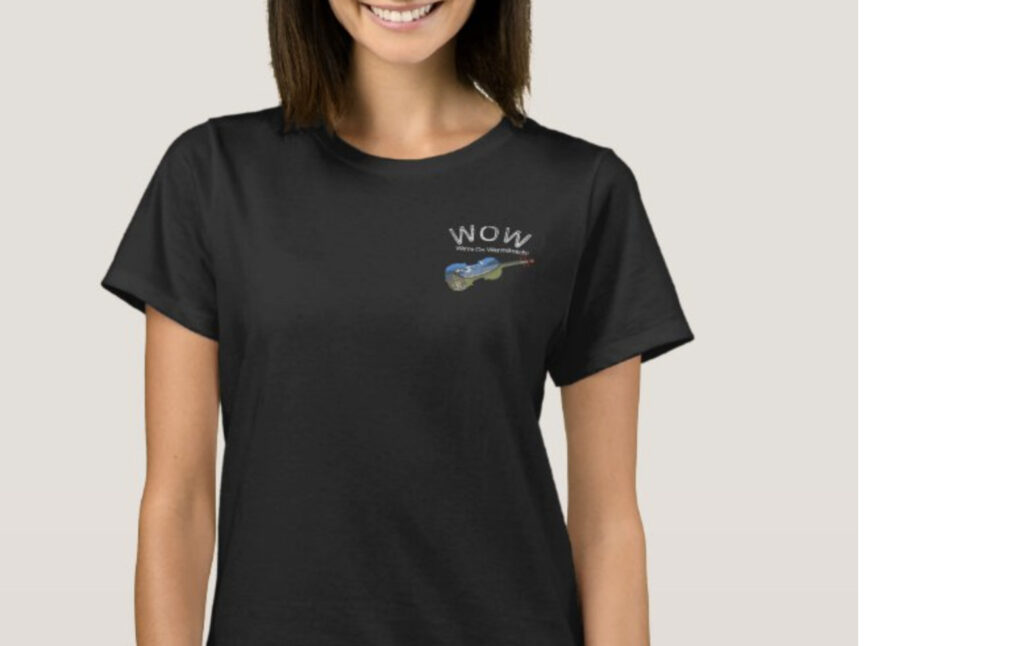
The two basic logos are above, and it’s up to you what you want to put them on, how big you want the design to be, design color, font color, etc. You can even choose a background to add that certain something!
Here’s just an example- There’s a Septia filter on the image, and a gray background, and a gold colored font!** See below.
READY TO GET STARTED?
Use this link to go to our new store! https://www.zazzle.com/store/wow_workshop?rf=238789752857953430
Look around- you’ll see just basic t-shirts, with a few different looks, logo sizes, and even shirts with logos on the front and back. Find one you like then decide—
Do you want a short, or long sleeved t-shirt, or a hoodie?
Pick a color (t-shirt or whatever you’re working on)r you like. For t-shirts, there’s various styles out there- and the colors available are different for each style… so sometimes, you have to decide if the color of the shirt is more important, or the style..
Get the right size.
And you should be able to order your shirt!
BUT there’s SO MUCH MORE YOU CAN DO! SEE BELOW!
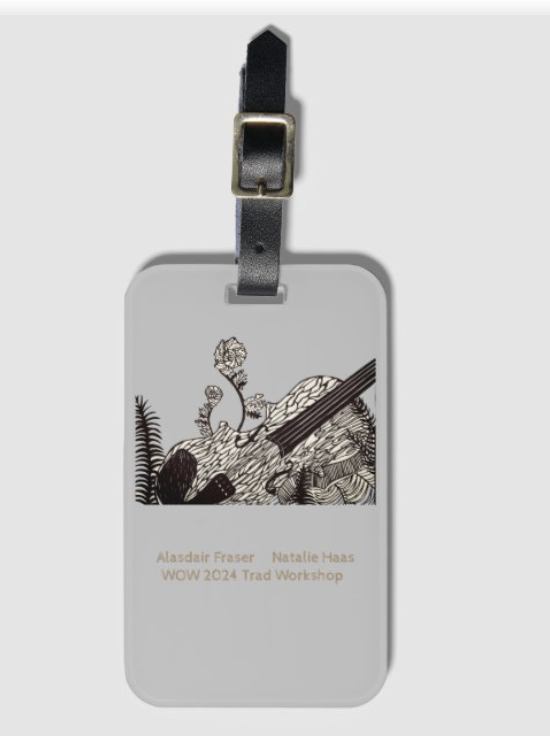
What if you like that t-shirt logo, but want to try it out on another item, like a cell phone case… Scroll far down the page on the example you like. Go past the “Edit Design”, size selection, past color and print process. Keep going… and past “Other designs you might like” AND “Frequently bought together” . VIOLA! You have arrived at:
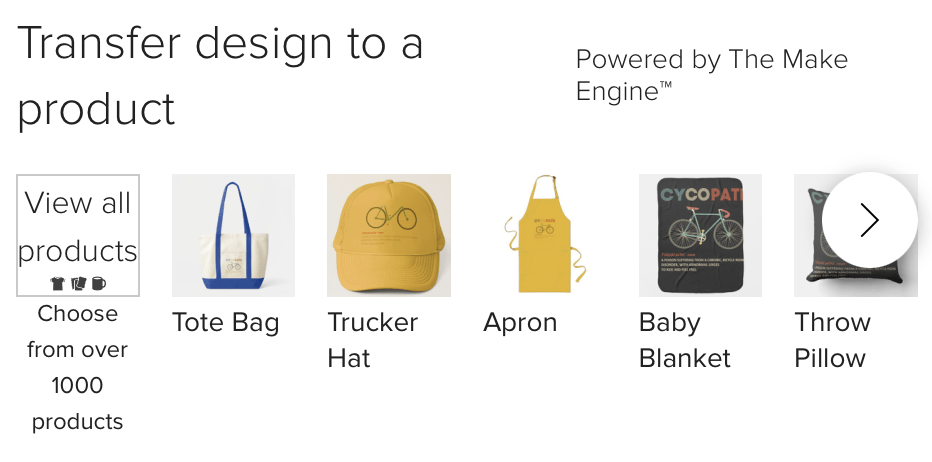
Just click on that arrow to the right and your head will spin with possibilities! Be sure to check the sizes of your image if you transfer our image to something other than an adult t-shirt!! The GREEN borders on your design screen indicate that you shouldn’t let the image go beyond that border, or your image might get cut off, same with any words…
WANNA GET FANCY??? but you’re new to Zazzle- this information may come in handy… if you know what to do. It’s also on a You-Tube video at https://youtu.be/lSreJcUA5dk
Click on the blue “Edit Design” button. Then you have lots of experimenting ahead;

Click on Filters and see what that does for your image. Pretty cool!
Some things you won’t want to mess with, but try “More Options”- Depending upon which design you’re working with this little arrow may be fun!
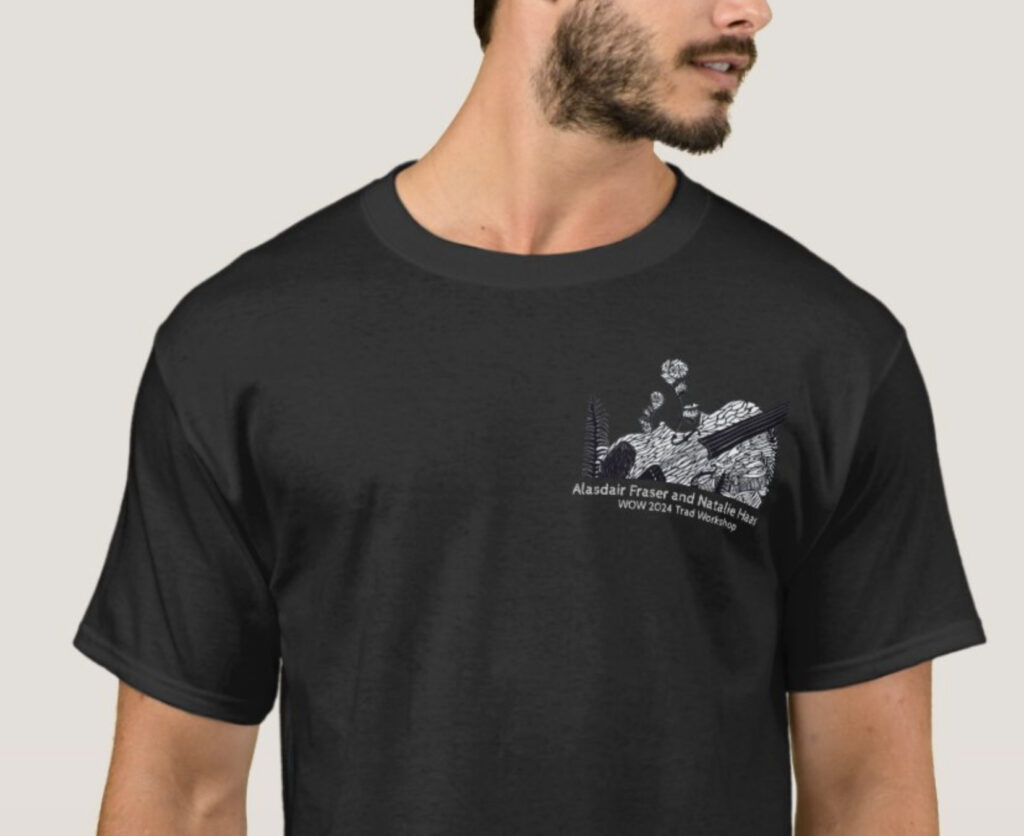
In the design above, I clicked on the original image and changed its color by using Filters.
Then, below, I changed the color of the text by clicking on the text boxes (there’s two!)- When you click on any of the text that says “Alasdair Fraser & Natalie Haas” or the information below that, you’ll see these options on the right open up to you, such as font color, even the font style itself is an option, or maybe the size of the font.. the Orientation and Curvature are also fun to play with.

Bottom line: don’t panic if you don’t like what you’re coming up with, and want to go back to the original… Just keep clicking on that UNDO arrow, at the top left hand corner of the screen- seen above!.
Have fun!